Saturday, September 25, 2010

Christmas Ornaments

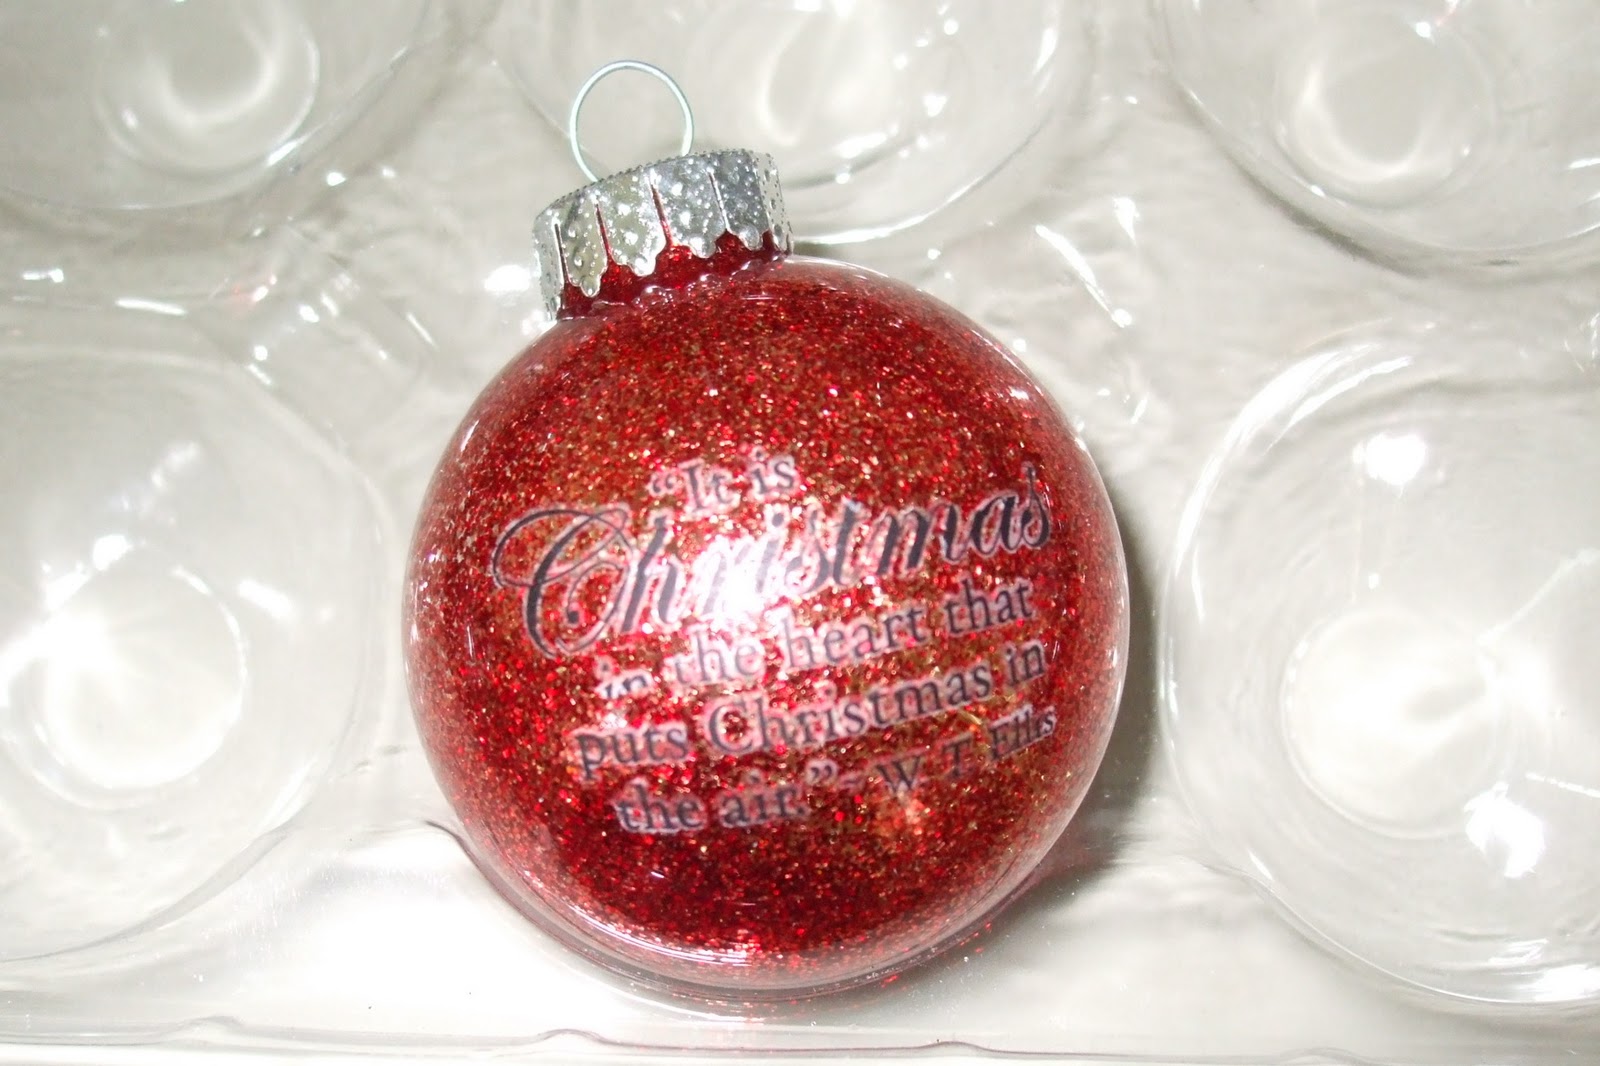
A couple of years ago, I received a set of beautiful hand decorated ornaments for Christmas  (from my parents).  They were remarkable and add that extra something to my Christmas tree.  This year I decided I wanted to make these ornaments.  They are super easy to make and are wonderful to give.

Here they are:
I purchased clear Christmas bulbs from my local Michaels Craft store.  They have a variety of sizes and shapes.  They come in a nice case which makes wrapping them up as a gift easier.  
Here is what I used:
  • Night of Navy Classic Stampin' refill
  • Rose Red Classic Stampin' refill
  • Handsome Hunter Classic Stampin' refill
  • Gold Glitter from Martha Stewart Crafts
  • Silver Glitter from Martha Stewart Crafts
  • Rub on images
I found putting the rub-ons a challenging task.  I've  decided that rub-ons are meant for flat surfaces not curved, such as glass ornaments. 
The easy part was putting the ink in with the glitter.  All you do is add a few drops of ink to the inside of the ornament.  I also added a drop of water to help move the ink around.  I then covered the opening and shook the ornament until the ink was evenly distributed around the inside of the ornament.  I poured out the excess ink and then added the glitter.  Again, I shook the ornament around until the glitter was all over.  I also had to pour out the excess glitter.  Voila, your done.

Here are some close ups of the ornaments.

As you can see they sparkle in the light.

I do plan to make more of these before Christmas.

Enjoy the rest of your weekend.

Kristy

Thursday, September 23, 2010

Halloween One Sheet Wonder

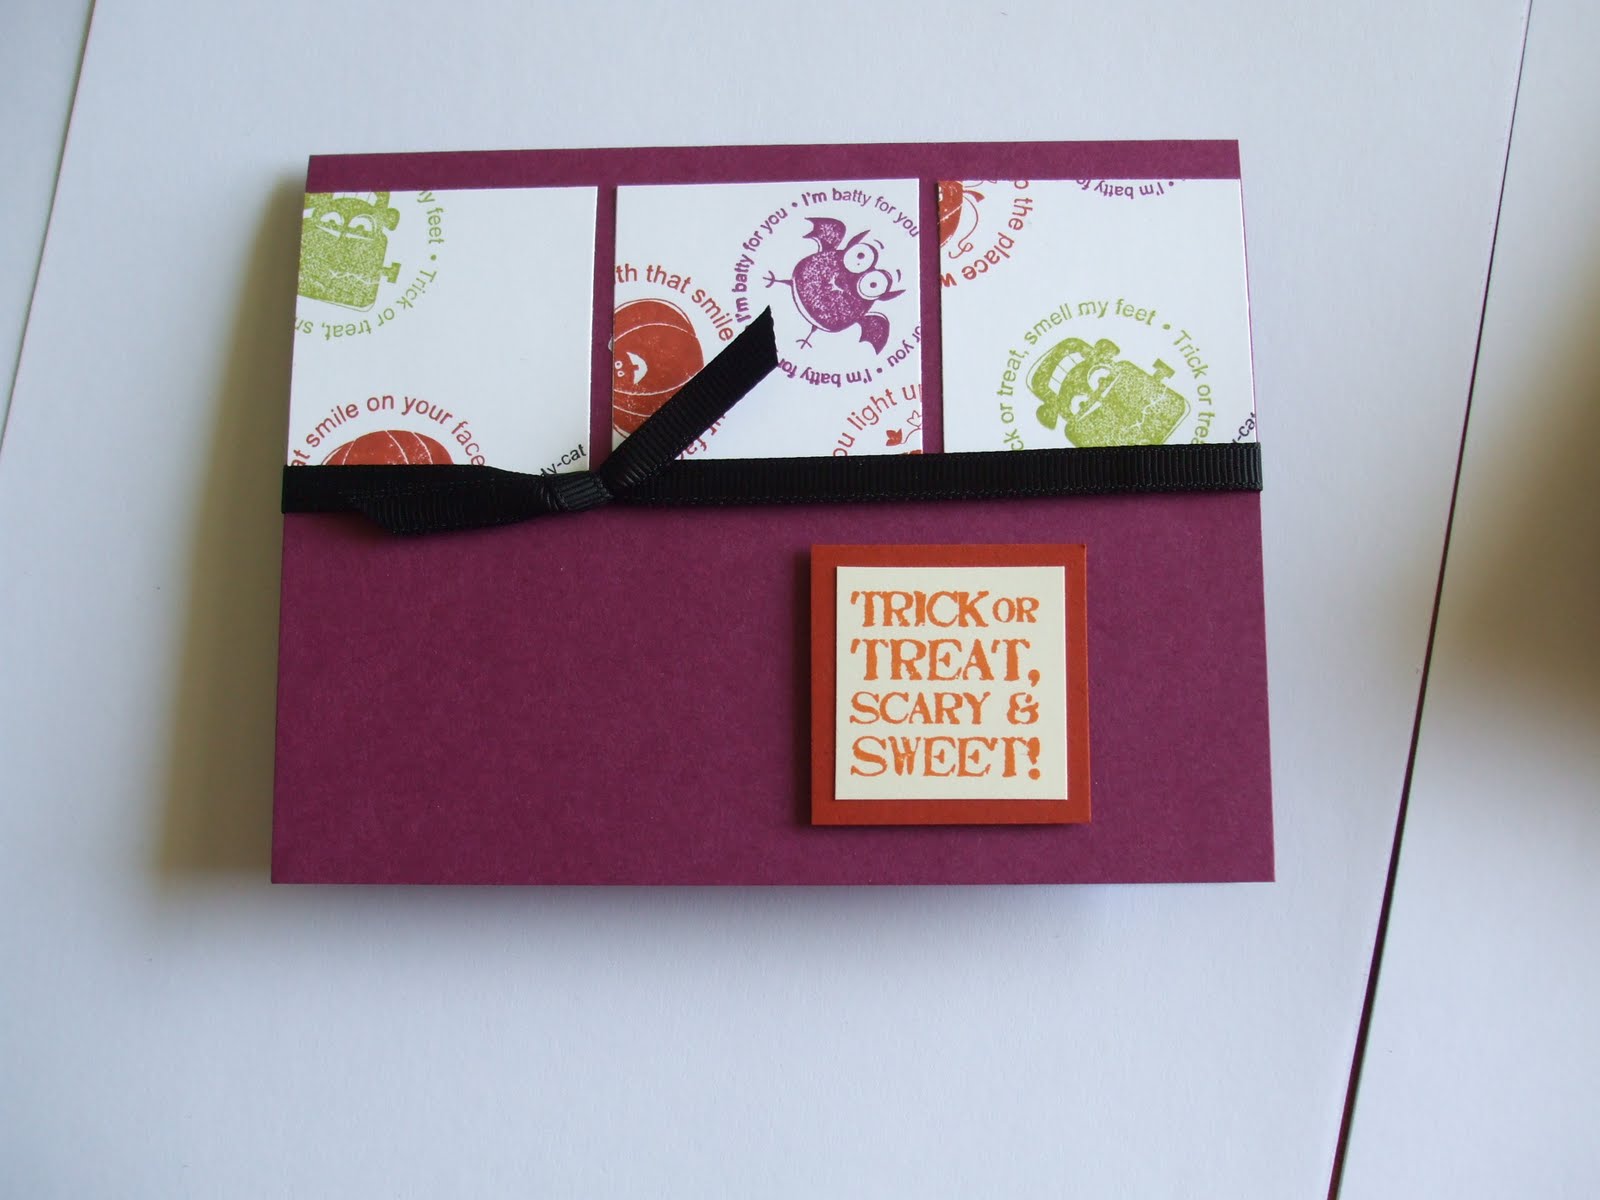
Halloween is just over a month away and I decide to make some cards.  Of course I asked myself what I would do with Halloween cards, but that wasn't the important thing.  For these cards, I chose to use a One Sheet Wonder method.  I created 10 cards using one 8 1/2" x 11" piece of cardstock to make these cards. 

I used one stamp set (Batty for You), three different ink colors (Rich Razzleberry, Old Olive, and Cajun Craze) and two base cardstock colors (Basic Black and Rich Razzleberry).
I stamped the various images from the Batty for You stamp set all over the Whisper White card, thus creating my own patterned paper.  I then used a template that I found on Splitcoaststampers to cut up my new patterned paper. 

I then decorated 10 card bases with the patterned paper, extra cardstock, and greetings.

Here are some close ups of some of the cards.


One Sheet Wonders are a great way to create several different cards quickly.  You can create One Sheet Wonder templates for both 8 1/2" x 11" and 12" x 12" cardstock or you can visit different websites to find templates that others have created.

Have a great Halloween!!! 

Kristy

Saturday, August 21, 2010

Because I Care

One of the new hostess sets is called Because I Care and its a beautiful set.   It has an image of a hydrangea and two sentiments (Thank you and Because I Care).  The set is really versatile as you can make thank you cards, thinking of you cards, just because cards, birthday cards, and blank cards. 

The first card I made was a thank you card.
I wanted to try out the Smooch Spritz and the Presto Patterns Specialty Paper and this is what I came up with.  

It takes a bit getting used to the Smooch Spritz and getting the look you want.  I over sprayed a little too much in my practice runs and got lots of blobs of the gold ink  (not what I wanted). After some practice, I was able to get a more even spray.  The great thing about the Smooch Spritz is that you can spray has much or as little as you want, all depending on the effect you're looking for.  

The Presto Patterns Specialty paper is perfect for using the Smooch Spritz.  The paper is white with glossy white designs on it.  You need to use ink on it to highlight the images, and thats what the Smooch Spritz does.  

For this card, I chose the piece that had script background and used the Gold Glow Smooch Spritz to bring it out.  Its sets a for elegant background for the Hydrangea.

I wanted a classy look so I went with colors from the Neutral Collection, Early Espresso, Basic Black, and Very Vanilla.  To add a bit of a aged/distressed look, I crumpled the paper up.  With a little bit of Basic Black 1/4" Grosgrain ribbon, you have a simple but elegant card.  

I could have stamped any sentiment on this card, but I chose to go with a simple Thank You.

I must say, I really do like this stamp set.

As its a hostess level 1 set, you can only earn the stamp by hosting a workshop.  If you would like this stamp set, just give me a call to book your workshop.

Enjoy the end of summer.

Kristy

Monday, July 26, 2010

My Stampin' Up! Story

This month I was invited to join the Stampin' Up! Recruit Crew.  This is a training program to help demonstrators recruit and expand their business.  I'm hoping I will learn many things beyond recruiting and since my husband and I are expecting our first child this winter, I would like to expand my business so that I can stay home with our baby. 

Here is my Stampin' Up! story:


I've always been into crafts, ranging from paper crafts to needlework.  Then about 4 or 5 years ago my mother (my upline) introduced me to a new craft:  rubber stamping and card making.  At that time I was already into scrapbooking and thoroughly enjoyed it so it made sense to try rubber stamping.  At first I wasn't into the card making but it didn't take long for me to fall in love with it.  For awhile I borrowed my mothers supplies and then when I saved enough money, I purchased the starter kit.  It was ideal as I didn't have any of my own tools.  I was able to get all the things to start at a great low price.  At the time I was a student and chose not to do the business. 
I continued to purchase new stamps and supplies as I could afford and when my husband and I moved to a new town I decided to rejoin Stampin' Up! so that I could get a discount on anything I buy and to meet new people.  Through holding workshops I have the opportunity to meet new people and share my love of Card Making and Rubber Stamping.


I hope y'all enjoyed my little story.  I will be back to share with you some new projects using new products.  Have you checked out the new Idea Book & Catalogue?  If not, you can download it from the sidebar.

Enjoy the rest of you day.


Kristy

Tuesday, June 8, 2010

Manly Cards

June is a busy month of occasions for myself.  There's Father's Day, my husband's birthday, my father-in-law's birthday and my anniversary.  Needless to say, I have a need for masculine cards.   I've been working on a couple of ideas and here they are.  I will be featuring these two cards at my next workshop on June 15.  Visit my Stampin' Up! website for more details.


The first card features stamp sets from the 2009-2010 Idea Book.


The second card uses a stamp set and dp from the Summer Mini  (you can view this catalogue on the sidebar).
Let me know if you think these cards are manly enough for the men in your lives?

Catch y'all later.  

I hope to be posting more frequently now that I have my craft room set up again.

Kristy