Tuesday, February 25, 2014

ColourQ Challenge


I decided to give challenges a try again. I needed some motivation to play in my craft room. Today's card is for ColourQ challenge

I didn't have all the colours so I made appropriate substitutes. 
My colours:
       Basic Black
       Summer Starfruit
       Coastal Cabana (replaced Cool Caribbean)
        Thin cardboard (replaced Kraft)


Hope you enjoy. 

Thursday, June 27, 2013

Happy Dirtday

This is my favorite card.  I love the color combination and the distressed coloring.  It's a perfect card for a boy or man.  I used the I Dig You stamp set from Stampin' Up!


Posted by Picasa

Sunday, June 23, 2013

ATV Birthday

For this card I used the Triple Stamping technique (can be seen in the previous post) again.  This time I created a background with Tim Holtz stains.  I then stamped and embossed the atv stamp from Stampin' Up's Need for Speed stamp set.  Add some ribbon and it's complete.  


Posted by Picasa

Thursday, June 20, 2013

Speed Boat Birthday

For this card I used a technique called Triple Stamping.  The tutorial is on Splitcoaststampers.  Its a really easy and neat technique.  I decided to use the speed boat from Stampin' Up's Need for Speed stamp set.  I added some ribbon and a banner to complete the card.


Posted by Picasa

Sunday, June 16, 2013

Father's Day Tool Shed

This here is the final Father's Day card I've made.  For this card I decided to try the Tim Holtz distress stains  on Stampin' Up glossy cardstock.  It definitely has a different look.  The messy look works perfectly with the Tool Shed stamp set.  I don't know any man who has a clean and crisp tool shed.
I really love the simplicity of this card.  


I sure hope all the father's in my life enjoy their cards.
Happy Father's Day to all the fathers and grandfathers out there.  May your day be full of love and laughter and some good fishing.

Enjoy!!
Posted by Picasa

Thursday, June 13, 2013

Father's Day part 2

This was the first card I created this month.  I decided I wanted to try a different fold and I chose the Lever Card.  You can view the tutorial for lever card at Splitcoaststampers.


I love the Tool Shed background stamp from Stampin' Up!  It's perfect for all masculine cards and an especially for the men in my family.  Pair it with some brads and distressed papers and you have the perfect card.

Enjoy
Posted by Picasa

Sunday, June 9, 2013

Father's Day

Here is another Father's Day card.  I love the distress look that Tim Holtz distress inks and stains create.  I find they're very masculine.  And since I have a bit of trouble creating masculine cards, I like the distress techniques.

For this card I also used the stains on the ribbon.  I didn't have any ribbons that worked well with these colors so I created my own ribbon.  Tim Holtz distress stains are perfect for that.


Happy Stamping and enjoy!!
Posted by Picasa

Thursday, June 6, 2013

Love Beyond Measure

I can't believe its been a year.  I have been extremely busy.  I never have time to play on the computer  (the little one likes to pound on the keys and hit the power button).  I have a few chances to play in my lovely craft room  (which is new and bigger and better).  
June is a card demanding month for my family.  So I have made several Father's Day, Birthday and Anniversary cards.  I will share a card at least once a week  (I will have them auto-post).  

Here is the first card:


Last fall I was introduced to Tim Holtz distress inks (about time, eh?)  And I love them.  So I decided to try the stains out.  At first I wasn't impressed because I couldn't get the same results that Tim Holtz does.  However, I have found that I can play with it and get different results.  Keep an eye out on the next few cards, and you will see the differences.

Enjoy
Posted by Picasa

Monday, July 23, 2012

thank you


 I love Nestabilities.  I love multiple layers on my cards and nestabilities makes it easy.  This card uses the Frosted Window technique (please see this previous post) and nestablilites to create an eye catching card.  I also used an embossing folder (I can't remember which one, but it's from Stampin' Up!) to add texture to the background.  I added a some hodgepodge to complete the card.  


Posted by Picasa 

Sunday, July 22, 2012

A quick project


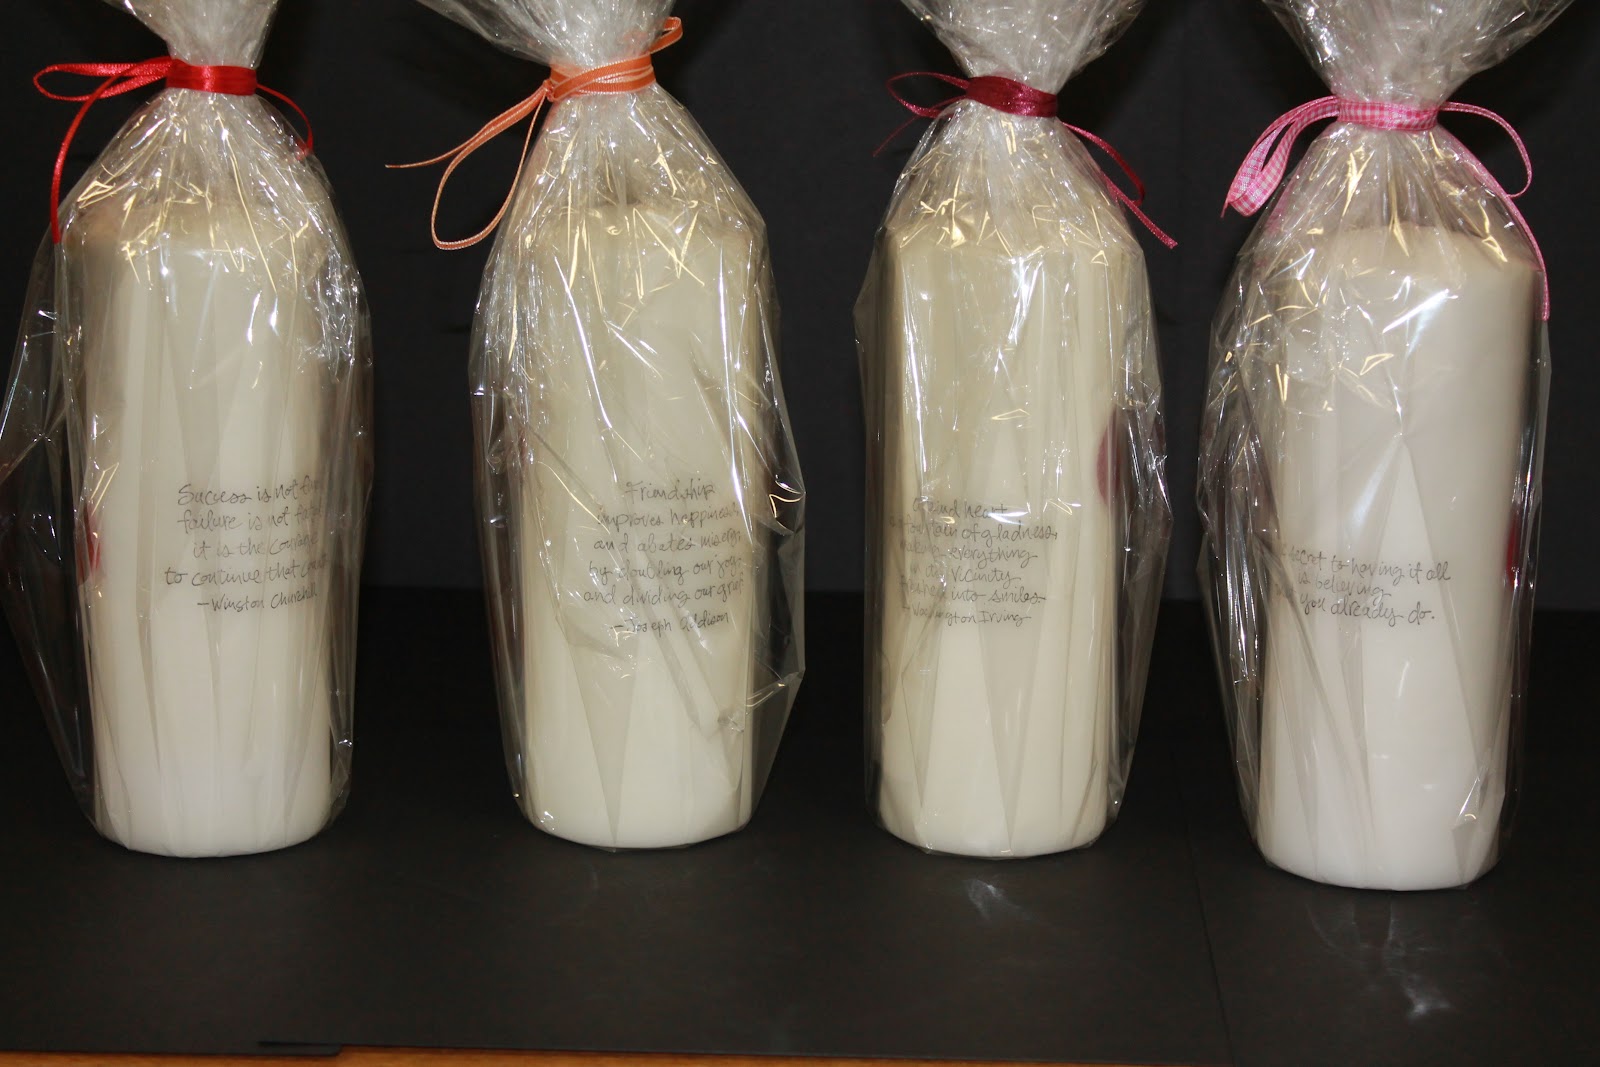
It has been a challenge to spend any time in my crafting room.  With two little ones, I don't get much time to myself.  However, the other day I took advantage of both kids napping.  I quickly flew downstairs, and began working on these candles.  I wanted to make something, but I had no set plans.  I saw the blank candles and started from there.  I all I did was picked out the Big Blossom stamp and some bright and bold colors.  Voila!!!  I have four beautiful candles.  I also stamped sentiments from Friendship Flowers on the back.

I have a family reunion at the end of the month, and we always do a silent auction.  These are my contributions.  Hopefully they fetch a pretty penny.


Wednesday, March 21, 2012

love


I meant to post this card back in  February, but my new baby girl took priority.  This card uses the Herringbone technique. I love how this technique creates the focal point for the card.  You don't have to add too much more to finish the card off.  I also used the I {Heart} Hearts stamp set from Stampin' Up!.   


Hope you enjoy the card.  
Posted by Picasa

Wednesday, March 14, 2012

Bright Birthday Cheers


This is a simple but fun birthday card I made.  I had just received some new nestabilities and I wanted to play with them.  This card was super easy to do and quick.  The color combo is Taken with Teal, Chocolate Chip, Whisper White, and a rust color  (I can't remember the correct name).  I used the Cheers to You stamp set from Stampin' Up.  I colored it with aqua painters and then I painted it with Crystal Effects.  You can't tell in the picture, but the Crystal Effects makes it glossy.  


That's all for today.Posted by Picasa

Saturday, February 18, 2012

love birds


Posted by PicasaEvery Wednesday I check out Splitcoaststampers for the weekly tutorial.  One week, they showcased the Herringbone tutorial.  This is a great way to use up scraps of patterned paper  or to use up old stock. I decided to grab scraps of old patterned paper.  When this patterned paper came out (from Stampin' Up) I fell in love with it.  Well its been retired for a few years now and I have a lot of it.  

Since its February, I was inspired to make a romantic card, but I didn't want it to be a Valentine's Card.  The colour combination is Basic Gray, Kiwi Kiss, Not Quite Navy, Baha Breeze, and Very Vanilla.  I decided to use the Love Birds from the Olive You stamp set from Stampin' Up!.  The birds are so sweet.  I used Nestabilites Label 18 to cut out the image.  I then sponged the edges.  I wrapped some Kiwi Kiss satin ribbon around the herringbone base and tied a knot, then placed the love birds on top.  To finish it off, I added some Dazzling Details to the stamped image.  Its a perfect card for an anniversary or wedding.  


Thursday, February 16, 2012

Hearts


Before Valentine's, I was into making Valentine's cards.  Today I have one that I did not give away, maybe next year.  I was just playing around with my stamps and old patterned paper from Stampin' Up!.  I've been challenging myself to use up of retired products.  

The starting point for this card was the piece of patterned Pixie Pink paper that's the middle layer.  You'll have to look really close.  From there, I had to find a color combo that was pleasing to work with.  I stuck with pinks but also used Basic Gray as a neutral for balance.   The complete color combo is Regal Rose, Pixie Pink, Pink Pirouette, and Basic Gray.  I also used a little bit of Very Vanilla.  

The layout was inspired by Clean and Simple FTL 175.  Of course its too late to enter into their challenge, but I still chose to play along.  I used the I {Heart} Hearts stamp set from Stampin' Up! for the card.  I stamped them in Regal Rose and then I covered the large heart with Crystal effects to give it a glossy look.  I really love how that turned out.  

I hope you enjoyed the card.

Tuesday, February 14, 2012

My Valentine's


Happy Valentine's Day!!

What a great day to get back into blogging.  I have been absent for some time now.  I apologize.  Christmas came and took over my life for sometime, and then I've been preparing for our new arrival.  
However, I have been playing in my craft room.  

Today I want to share with you the cards I made for my two Valentines.   
The first card is one I made for my darling husband.  He's been such a great blessing in my life.  And lately he's been helping lots around the house.  I'm unable to do a lot of things, but he's ready and willing to help.  I don't know what I would do without him.  I'm so glad he'll be around for the next nine months.

For the card, I used the Love letterpress plate from Stampin' Up!.  I've played around with it a few times, and I find it works best with watercolour paper.  You get a nicer impression.  I've made it the focal point of the card, as I wanted to let my husband know how much I love him.  I also wanted to make the card masculine, so I used Night of Navy, Ruby Red, and Bravo Burgundy.   I punched the sentiment out with the modern label and placed it on top of some old ribbon I had laying around.  Its colour is really close to Bravo Burgundy.

I sure hope he loves the card.

The second Valentine's in for my 1 year old son.  I was inspired by the train image from the Whoo's Your Valentine stamp set from Stampin' Up!.  The Frosted Window tutorial over at Splitcoaststampers inspired the design of the card.  For the window opening I used the negative of the Spellbinders Nestabilities Labels 18 in Blush Blossom and Regal Rose.  The base of the card is Chocolate Chip.  I placed a layer of Close to Cocoa behind the Frosted Window.   I finished the card with some light pink ribbon that I had laying around and stamped to small hearts (from the stamp set I {Heart} Hearts from Stampin' Up!) in the corners.  It's a perfect card for a child.  

I hope you've enjoyed these cards and I have more to share over the next few weeks.  

Kristy 

Posted by Picasa

Saturday, November 12, 2011

Finally Completed a Challenge

It has been a long time since I was able to complete a challenge.  I check out the various challenge blogs and consider doing them, but then I don't.  Now with my craft room all set up and its not a dumping ground, I can finally participate.  This card was made for the Mojo Monday Challenge 214.  
I really like there layouts, and I knew I could do this one.  I kept the card simple as I'm just getting back into swing of things.  I'm not into elaborate cards yet, but I'm hoping to get there.
This card features the Love Bug stamp set from Stampin' Up!.  I love the little critters in the images and there fun to color.  I just recently got the watercolor pencil crayons from Stampin' Up and I had to try them out.  I didn't watercolor the images, but I will try that technique out one day.
The colors in this card are Cherry Cobbler, Pumpkin pie, Island Indigo, and Soft Suede.  This color combo was inspired by a challenge over at ColourQ blog.  Unfortunately I didn't finish the card in time to participate in the challenge.  

I think the card turned out well.  I hope you enjoyed it.

Take care


Birthday Invite

My son's first birthday is coming up so I'm planning a party for him.  I decided to make the theme Polar Bears, since he was born in winter and we have snow.  I'm going to be making a polar bear cake for him to enjoy, so I thought I should make coordinating invitations.  I used the teddy bear image from the Teddy and Train stamp set from Stampin' Up!.  I stamped it in Sahara Sand and then used heat and stick powder to add dazzling diamonds.  This gives the impression of a polar bear covered in snow.  Since the invite his for my son's birthday, blue was the color.  I used Bashful Blue and Marina Mist.  Since he's only turning 1, I figured I could get away with using soft colors instead of bold colors.  The card may seem to be babyish, but Caius is my baby boy.  I don't want him growing up to fast.Posted by Picasa

Monday, November 7, 2011

For A Baby Boy


It has been a very long time since I posted any projects.  I've had a busy summer but now life has slowed down and I'm able to get back to creating again.  I also moved my craft room into a bigger space and its organized.  I also have more workspace. Today I have a card that I made for a good friend of mine who just had a baby boy.  This is her first baby so I wanted to make a special card for her and her family. 

I used the Teddy and Trains stamp set from Stampin' Up!.  I love the softness of the images.  The teddy bear looks so cuddly. The images are stamped in Versamark and coloured with Stampin' pastels.  Pastels are perfect for baby cards as they are soft.  
To keep the card boyish, I used boy colors.  The colors are Brilliant Blue, Chocolate Chip, Pear Pizzazz, Baja Breeze and Marina Mist.  
I used the side step fold for this card.  You can find the tutorial for this fold on Splitcoaststampers.

I hope you have enjoyed this card as much as I did making it.

Take care and until next time,

Kristy

Saturday, June 11, 2011

Candles, Candles, and more Candles


Awhile back my mother-in-law asked if I could make her some candles for her dining area and living room.  She wanted roosters for the dining area and lavender for the living room.  With this as my inspiration I came up with 2 sets of candles.  I really love the rooster candles.  I stamped the image with Staz On on white tissue paper.  I then watercoloured the image and then heat set on the candle.  I added some ribbon and twine and Voila!  They look really good on the wrough iron stands.

Since the lavender image I was using was small, I had to come up with a way to make a larger image.  I decided to create backgrounds for the lavender.  On the large candle, I brayered a sky with Marina Mist and Rich Razzleberry.  On the middle candle, I sponged a sky with the same colors.  For the small candle, the lavender image was the perfect size, so I added a bit of Bashful Blue around the lavender.  Since Stampin' Up! doesn't have a lavender color I used Perfect Plum.  For a ribbon, I used Certainly Celery striped grosgrain.

Posted by Picasa

Sunday, June 5, 2011

Being a Mom and Loving It

Last November, my beautiful baby born came into this world.  Since then I have had my hands full learning many new things.  I'm not sure who's learning more, me or him.  Its been 6 wonderful months and I'm looking forward to many more wonderful years, but I haven't the time to devote to a business.  So as of the end of this month, I will no longer be a part of Stampin' Up!.  I will still be playing in craft space every once in a while and I will share what I create.  My current project is a scrapbook for my son.  I've only finished a couple of pages, but he's only been around for a short while.  This will definitely be an ongoing project that one day he will appreciate (or possibly a future wife).  

Thank you for visiting my blog and I do hope you continue to stop by.  I hope I have inspired you to be creative.

Kristy